I pulled the following from a DIY website, which describes the many components to a typical aluminum gutter system that may be used around your home. Regardless of how it is setup, how it looks, or the material of the system, it's primary purpose is to keep water away from your home.

When we first moved in, we realized after the first few rain showers, that water was spilling over the edges of the gutters in multiple different locations around the house. After inspecting the gutters, I realized that they were filled with leaves and silt so water was not able to make it to the drop outlet to drain away from my house.
I gathered the following items: a ladder, heavy duty gloves, garbage bag and my garden hose with an affixed pistol grip spout. I'm not going to glorify this task, it's not fun nor is it an interesting project. Add on to the start of winter, cold weather in a wet working environment did not make for a good combination, so if you can, check your gutters when the climate is to your advantage.
Thus the project begins, start digging into gutter and remove all the excess leaves and silt that has accumulated since it's last cleaning, if ever, and place into the garbage bag. I ended up tying one end of the garbage bag to one of the higher rungs of the ladder so I have one hand to hold onto the structure while the free hand was pulling the obstruction out of the gutter.
Once I was able to remove most of the obstruction, I took the garden hose and adjusted the nozzle so that I would expel a high velocity of water. I started from the opposite end of the gutter or close to an end cap furthest from where the downspout is located and sprayed the remainder of the loose dirt out. You may need to bring back the garbage bag to pull more loose dirt once it starts accumulating again. For parts of the gutter that had two downspouts on either end, I would start in the middle or where it seemed to be the lowest point in between either drop outlet.

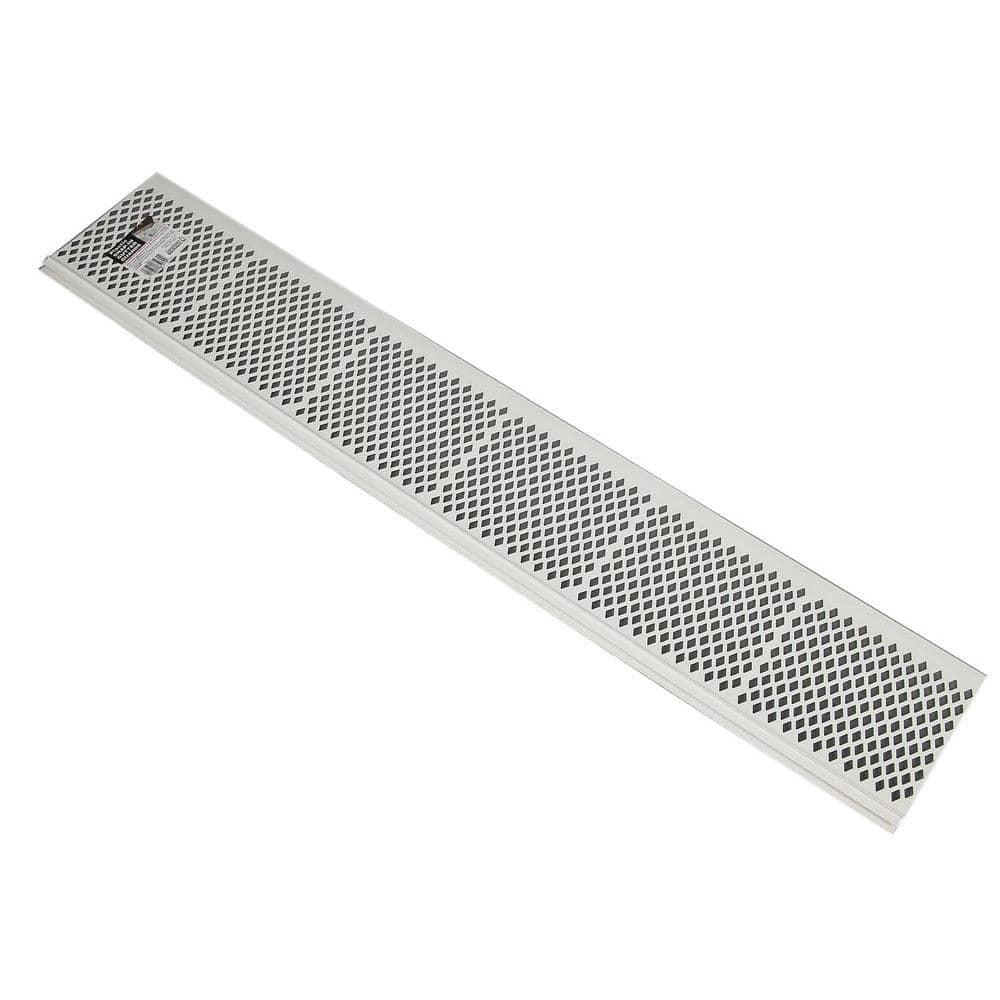
In the middle of this project, I realized that it is something I do not want to do again, or at least I would need to find a way to prolong having to do this again. I went to the local Home Improvement store and purchased snap-on Gutter Guards; they come in multiple types and colors that are available. I prefer the ones that are depicted below; they appear to far more durable and simpler to attach. They are a couple dollars per 3 feet segments. They do come in cartons, which also helps in saving a few extra dollars. These guards have an embedded mesh wiring in-between the plastic body which allows water to filter through while keeping debris out of the gutter system.
 | |
|
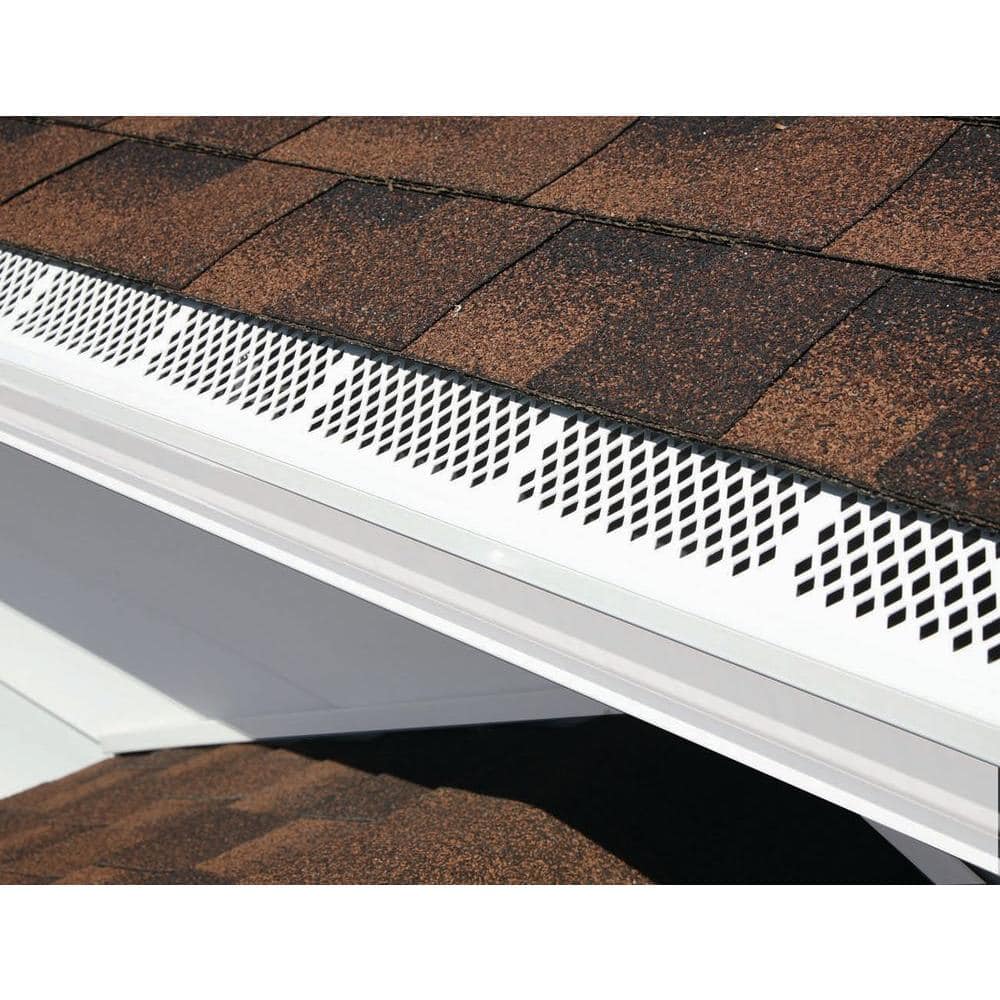 |
| Image pulled from Home Depot Website, depicting Amerimax 3ft Snap-in Gutter Guard |


